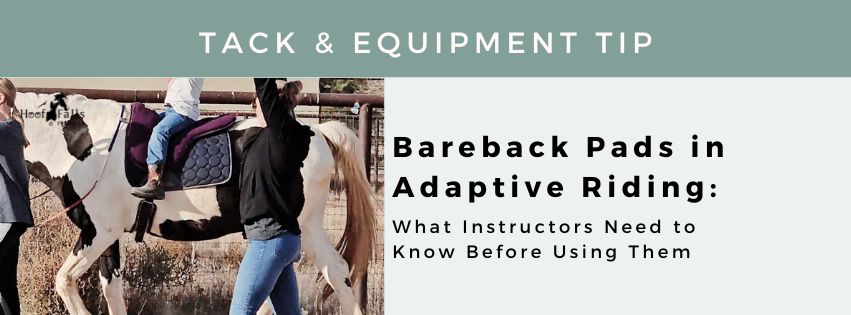
Bareback Pads in Adaptive Riding: What Instructors Need to Know Before Using Them
Bareback pads show up in a lot of adaptive or therapeutic riding programs—but not all bareback pads are created equal.
What makes a good one? Which should we avoid? And what should instructors know before adding bareback pad work into a student’s progression?
As adaptive/therapeutic horseback riding instructors, it’s important that we understand how bareback pads function, what safety concerns come with them, and when they’re appropriate to use.
Let’s take a deeper look at the anatomy of a bareback pad and how to evaluate them for your program.
Understanding the Structure: Why Anatomy Matters
Just like we evaluate saddles for structure and function, we need to apply the same scrutiny to bareback pads. The anatomy of a pad—including strap placement, materials, padding density, and shape—can affect everything from how securely it fits to how safely a rider stays in place.
Here are a few key elements to examine:
1. Girth or Cinch Placement
Look at where the girth or cinch strap attaches to the pad. If it’s too far forward, it will naturally pull the pad forward and down into the horse’s withers. That leads to slipping, twisting, and constant repositioning during the lesson.
Pads with a more centered or slightly rearward strap placement tend to stay in place longer. It won’t solve slippage altogether—bareback pads are inherently less stable—but it does help minimize it.
2. Width of Attachment Points
The wider the strap or pressure-bearing surface, the better the pressure is distributed. Narrow straps concentrate pressure into smaller areas, which increases discomfort for the horse. Ideally, we want broad, well-secured straps that help the pad hold its position without over-tightening.
3. Padding Density and Thickness
A pad might look cushy, but that doesn’t mean it’s supportive. Dense, well-structured padding helps protect the horse’s back from the concentrated pressure of a rider’s seat bones. Fluffy but low-density padding often breaks down quickly and offers minimal protection.
And don’t forget—adding more padding doesn’t always help. A pad that’s too thick can roll, shift more easily, or make it harder to secure properly.
Realistic Expectations: Bareback Pads Will Slip
This is worth repeating: bareback pads are not designed to stay in place like a saddle. They don’t have a tree, and they aren’t shaped to contour to the horse’s back in the same way.
Even with a well-placed girth and good padding underneath, you’ll likely have to adjust between riders or after every class. Some horses will tolerate them well. Others—especially those with high withers, short backs, or round barrels—might not.
Be honest with yourself about what tack works best on which horses. You’re not failing if a bareback pad isn’t the right match.
Common Mistakes and Safety Concerns
If you’re using or considering a bareback pad in your adaptive lessons, here are some major safety considerations:
Do not use stirrups.
Even if the pad has stirrup slots—even if your rider is small—it is never safe to attach stirrups to a bareback pad. The uneven pressure can cause the pad to twist or slide, even with a tight girth.
Don’t overtighten to compensate for slippage.
Trying to “cinch down” a bareback pad to keep it from moving only creates pressure points, discomfort, and risk for the horse.
Be cautious of rubber or non-slip bottoms.
These can irritate the horse’s skin, pull at hair, and trap heat. Always use a saddle pad underneath to protect both the bareback pad and the horse’s back.
Remove or avoid using handles.
Many bareback pads come with center handles. While they may seem helpful, they can actually encourage unsafe gripping, are rarely centered correctly, and often mislead riders about their position. If you use a pad with a handle, consider removing it entirely.
Train your horse specifically for bareback pad use.
Riding in a saddle, in a bareback pad, and truly bareback are three very different experiences for your horse. Don’t assume that a saddle-trained horse will be fine with a bareback pad. Watch their body language and reactions closely, and train accordingly.
When to Use Bareback Pads in Lessons
This part is key: bareback pads are not a starting point for most students.
In fact, they are the least supportive of any tack option typically used in adaptive or therapeutic riding lessons. Without the structure of a tree, seat, or stirrups, students are entirely dependent on their balance and core strength to stay aligned.
That’s why I recommend using bareback pads as a progression tool—not an introduction.
Students who begin in a more supportive saddle often develop better posture, alignment, and confidence. Once they’re ready, you can introduce a bareback pad to help them refine body awareness and balance. Skipping straight to a pad too soon can push a student outside their zone of proximal development and cause frustration—or worse, unsafe situations.
Final Thoughts
Bareback pads can be valuable tools in the right setting—but they aren’t a one-size-fits-all solution. Take the time to evaluate the anatomy of each pad you consider. Think about your horses, your students, and your program’s needs. Be honest about what is truly safe, supportive, and appropriate.
Let’s keep the conversation going:
- Do you have a favorite brand of bareback pad?
- Have you found a combination of pad and saddle pad that works especially well?
- Are there certain horses in your barn that bareback pads just don’t work for?
Drop your experiences and thoughts in the comments. Your insight helps the whole instructor community learn and grow.
Until next time—teach with intention and stay safe in the saddle.


Responses